Guide to Shields
Introduction: Shields and you AKA How to not die a rocky/fishy death
(This guide assumes a basic knowledge of current station layout (layout as of 10/04/2019). If you need location terms explained, feel free to send an AHelp during the round, or ask on Discord.
So you’ve been tasked with setting the shields, and you have no idea what to do, huh? What are these shields and why should we care? It’s important to understand first off, that there are two types of shields involved. We’ll touch on what each type does, so you have an idea of their use.
| Type of Shield | Style of Projection | Common Usage |
|---|---|---|
| Hull Shield | Project shields on the surface of the station hull, like a skin surrounding it. | Carp Migrations, Lost Drones from NTV Icarus, Hostile Forces |
| Bubble Shield | Project shields around the station in a bubble, protecting the station and anything else within. | Meteor Showers |
With that said, let’s get to what we’re going to need to set up the shields, and where they’re stored.
Tools of the Trade: What you’ll need to set up the Hull and Bubble Shields, and where can you find it?
Shields are now automatically set up on the surface, and simply require wrenching down and configuring, so walk up to the surface via the main elevators, and head to just below the garden, through the blue doors.
Setting up the Shield Generators
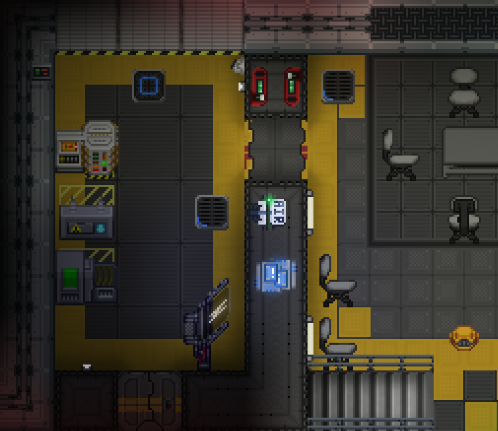
- Step 1: Ensure both the generators and both the capacitors are bolted down to the floor. Use the wrench to bolt them down if they're not.
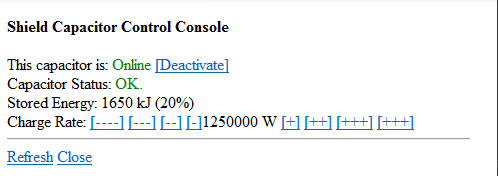
- Step 2: Click on both capacitors, and set them to click the [Activate] button. Additionally, if danger is imminent, set the charge rate higher; make sure the engine can take it. The maximum is 400000 W.
- Step 4. Set the settings of the shield generators properly. The Coverage Radius (restart required) for both generators should be 100m. Use the “+++” button to quickly raise it to the maximum. The Charge Rate for both generators should be 0.3 Renwick/s. Use the “++” button to raise it up by one point (the default is 0.2 Renwick/s). Finally, the Maximum Field Strength for both generators should be 3 Renwick. Use the “[min]” button, followed by two presses of the “+” button to set it properly. The settings are shown correctly below.
Default Setup File:Shieldguide27.png
Correct Setup File:Shieldguide28.png
These settings allow for a low strength field that covers almost all of the station.
In the unlikely event that you have a specific area that needs shielding, you can unwrench the capacitor and shield, move them to the danger zone, and engage them there. If you are doing this, it's suggested to set the "Maximum Field Strength" to max, and the coverage radius to a relatively low value.
Congratulations! The shields are now properly set up for an emergency. Remember to leave them Offline unless there’s a need for them, as they drain massive amounts of power.

